First off weigh out a half pound (8 ounces) of them on a reasonably accurate scale. I use a digital postage scale that we have. It looks like this:

Then it's time to clean the rascals. The woods can be a dirty place and the chanterelles probably didn't make it home without having a few pine needles, leaves, and other flotsam attached to them. Thankfully chanterelles do not suffer from bug or worm infestation like some other tasty mushrooms (which I recommend best be cooked in risotto to disguise the little vermin) - so you are probably only looking for vegetable matter that needs to be washed away.

Then I take each mushroom and wash it in cold running water. This is also an excellent time to look at each of them to be sure they're really what you thought they were in the woods. Check to be absolutely sure that they're chanterelles. Absolutely sure.
Feel free to cut off the bottoms of any that have retained dirt from the forest (in case you didn't cut them cleanly when harvesting).
And if there are any parts that don't look fresh or seem a bit odd - cut them off at this time. Think of mushrooms like you would vegetables at the store - you want ones that are fresh, not past their due date...

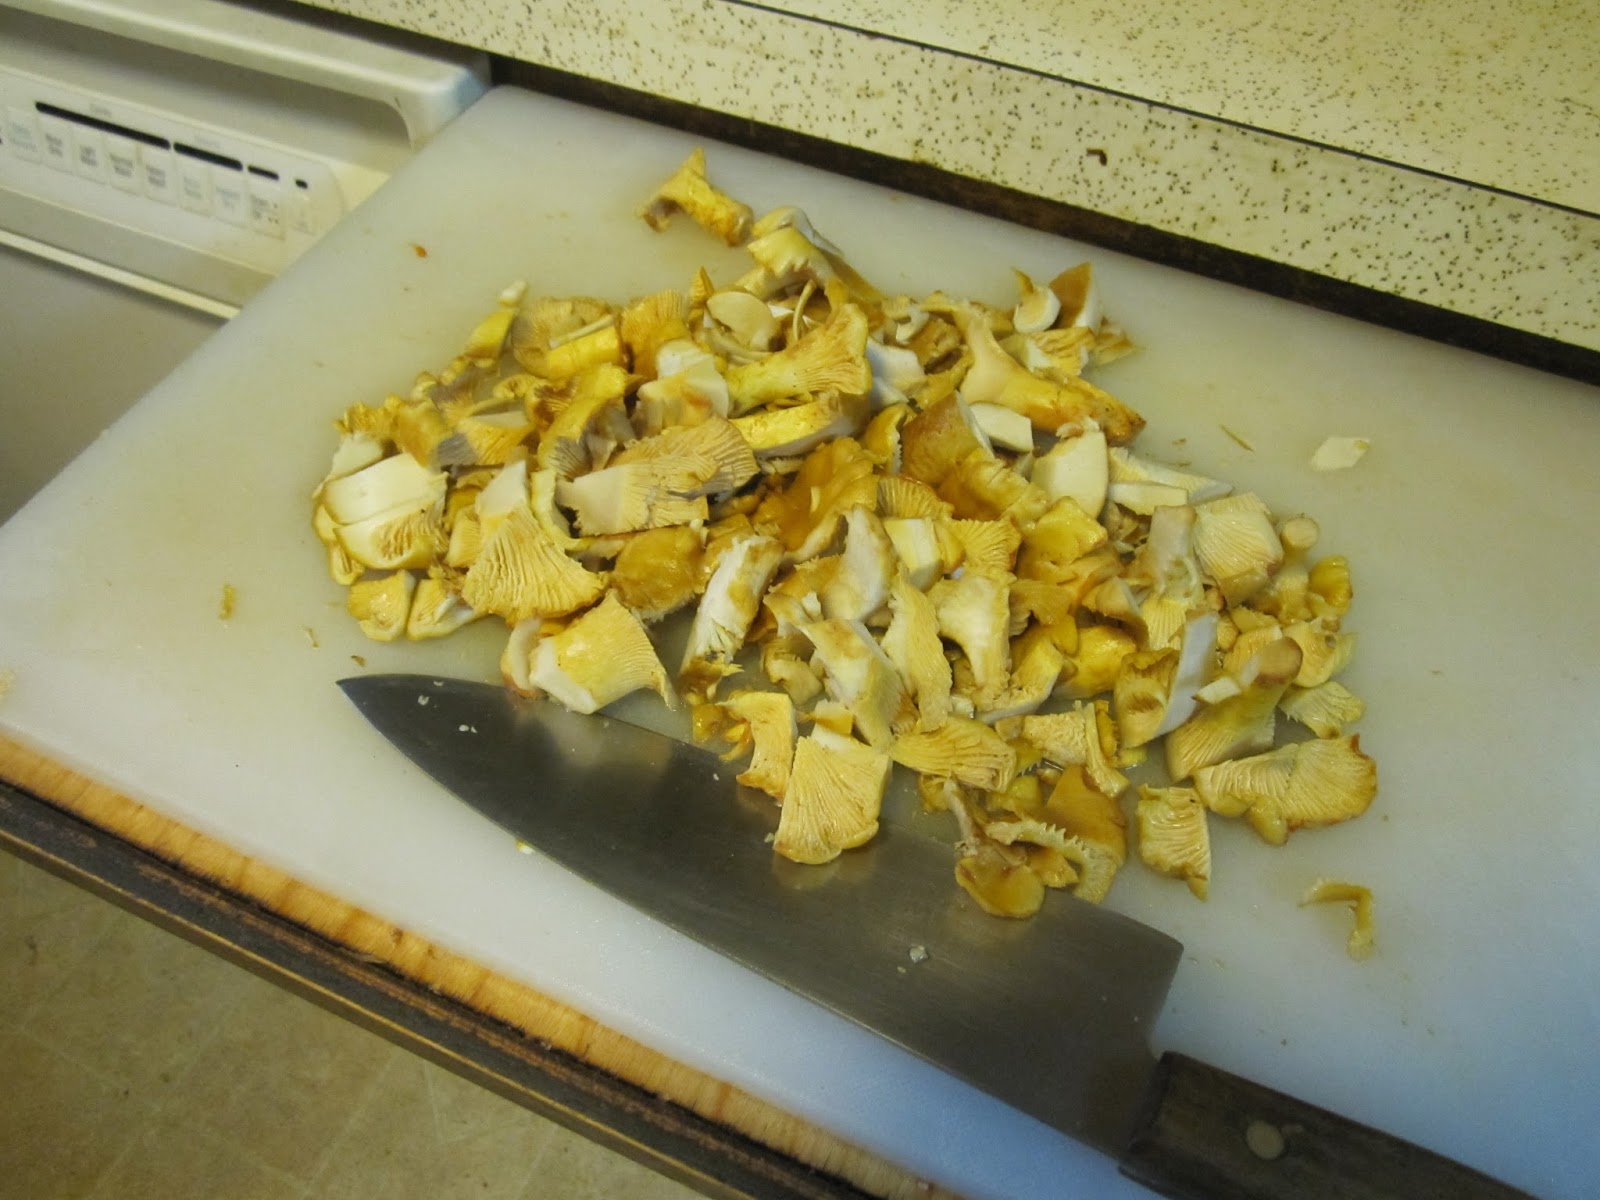
Once you're sure that you only have chanterelles and that they're reasonably clean (these are forest products and will never be absolutely positively totally clean) - it's time for the chopping block. You can either chop up the mushrooms or tear them into pieces. I've done both. The torn mushrooms have a better aesthetic appeal in some dishes. But chopping is probably quicker. I now chop mine - but not too much.

I like a rough chop that leaves nice large pieces of mushroom to allow for the texture to come through when they're eaten.
This is a good time to label your freezer bag. I use regular one gallon Ziploc(tm) bags (I am not being compensated by the Ziploc(tm) company for mentioning their brand...). I label the bag like below - Chanterelle, 1/2#, Today's Date.

Labeling the bag at this point is much easier than later when it's filled with hot mushrooms. Which brings us to the next step. Cooking the chanterelles.
Slide the mushrooms into the hot dry pan...

Let them cook for a couple minutes. They'll release their water and almost get soupy...

After maybe 3 or 4 minutes some of the liquid that they've released will start to evaporate and it's time to bag them up. You're only partially cooking the mushrooms - they'll cook a bit more later when you add them to omelettes, pasta, rice, cream of chanterelle soup, etc.
This is the trickiest and most dangerous step. You need to pour the mushrooms and what's left of their boiling liquid from the hot pan into a floppy plastic bag. Do it carefully. If you can find someone to help, have the bravest one hold the plastic bag and the steadiest one pour the hot mushrooms and liquid.
If you don't have a brave volunteer, then prop open the plastic bag and pour carefully. It works fine for me this way...

After the mushrooms are in the bag and you've taken care of the first aid for the various burns that were received, you can roll up the bag to get most of the air out - leave part of the top open for the air to escape. Then seal the bag completely.

Once it's sealed, roll the bag into a cigar shape and set it in the freezer next to the others for your winter enjoyment...

Hope that helps. Let me know if you have any questions in the comments below.
Large canning funnels work well on plastic bags, too. You still need more than two hands, but its less messy.
ReplyDeleteExcellent idea! Thanks Rick.
ReplyDelete